Showing posts with label inkadinkado. Show all posts

Tuesday, September 29, 2015

Try it on Tuesday - Autumn

Hello Everyone!

Here we are, only two days to go before the big move!! This will be my last post until I am up and running in my new craft room, yay!! Wish me luck everyone and I will see you soon!

It's time to start another challenge over at Try it on Tuesday. This time around our theme is AUTUMN. We would like to see your creations using lots of wonderful autumn colours and leaves.


The inspiration for this card can be found HERE. I'm sorry, I don't know the artist's name but she does absolutely gorgeous work and I highly recommend you give her a visit.


I apologize, but I have run so short on time, I will list my products here and if anyone has a technique question just leave me a comment and I will get back to you as soon as I can.

Dies - Tim Holtz - Butterfly Duo, Prima - Leaf Collection, Memory Box - Small Leaf Set, Marianne Designs - Flourish Stem, Spellbinders - Foliage, Joy Crafts - Flower #1 die set
Stamps - Inkadinkado - Decomposed Foliage
Stencil - Crafter's Workshop - 6" x 6" Art Is
Inks - Hero Arts Shadow Ink - Soft Sand, Ranger Archival Ink - Coffee, Tim Holtz Distress Inks - Rusted Hinge, Aged Mahogany, Scattered Straw, Fired Brick, Peeled Paint, Bundled Sage, Gathered Twigs
Misc. - Cheesecloth, Robin's Nest Dew Drops, DecoArt Gesso, DecoArt Modeling Paste, Lindy's Stamp Gang Magicals, waxed cord, DecoArt Titanium White paint, foam dots, lace, seed beads, stamens


That's it for today. Thank you for stopping in and for all the amazing comments. I read and appreciate every single one! If you have any questions, please let me know.


Tuesday, August 18, 2015

Try it on Tuesday - Sending You Flowers

Hello Everyone!

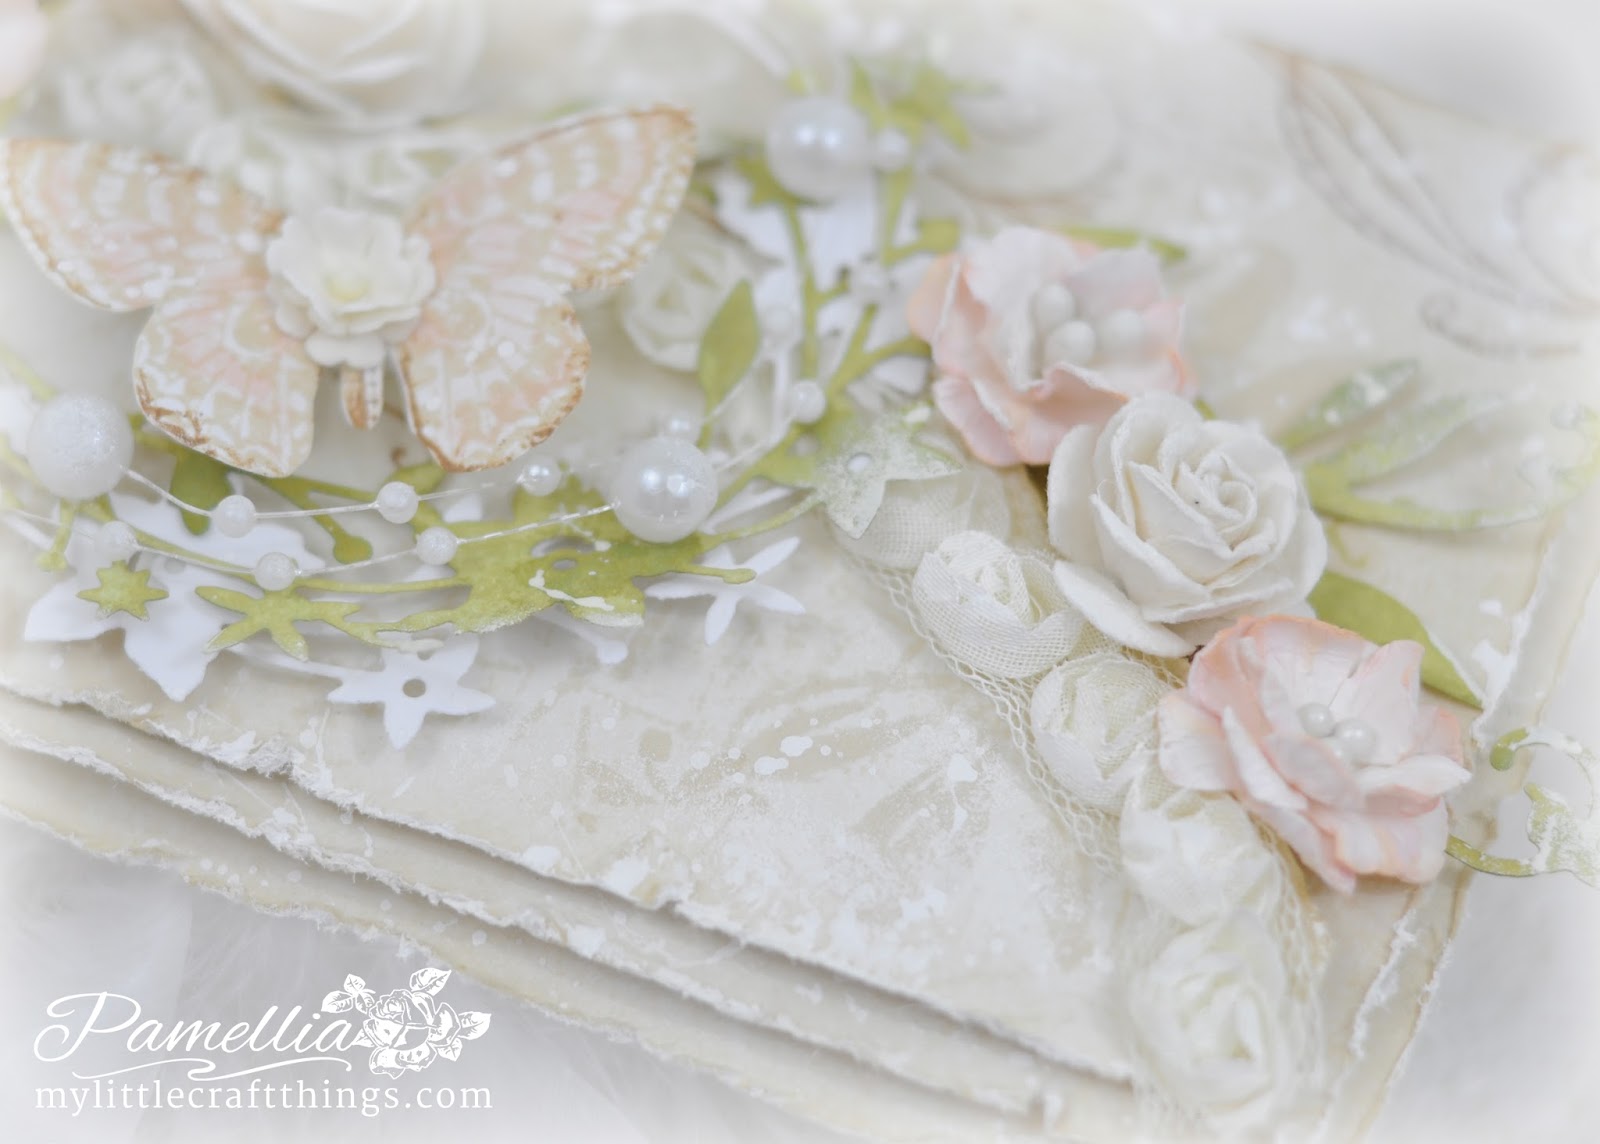
It's time to start another challenge over at Try it on Tuesday. This time around our theme is FLOWERS. I thought I would just put together something uber feminine that I could use to give one of my girl friends or female family members for any occasion. Lots of pastels, lots of pearls and lots of flowers!!


For the background panels I used DecoArt Antique White paint and Hero Arts Shadow ink Soft Sand. I stamped some flourishes from Inkadinkado and some flowers from Prima. The flowers were cut with Joy Crafts Flower die sets and coloured with distress ink Tattered Rose. The white roses are store bought.


The wreath die is from Memory Box and I coloured it with distress ink Shabby Shutters. The foliage sprigs are from Marianne Designs. The butterfly is from Inkadinkado and I stamped it with Soft Sand, coloured it with Tattered Rose and fussy cut it out. I splashed the finished card with some distress ink spray Tattered Rose and some DecoArt Titanium White Paint to add a little extra shabbiness.


UPDATE:
My card won awards in the following wonderful challenges:

That's it for today. Thank you for stopping in and for all the amazing comments. I read and appreciate every single one! If you have any questions, please let me know.


Monday, June 29, 2015

Crafty Cardmakers #142 - Sentiment

Hello Everyone!


It's time for another challenge over at Crafty Cardmakers and More! This time around our lovely hostess Jackie has chosen the theme SENTIMENT, so she wants to see your creations where the sentiment is the focal point of your design.

Have you ever met anyone with OCD? Welcome to my world of 'obsess much?'. This card here is not the original card, nor is it the second version...what you are looking at is version NUMBER THREE!!! I knew what I wanted but I just couldn't seem to get it right, so I kept starting over and over again like some sort of lunatic! Truth be told, if I had time I think I would have done it just one more time...turns out I think I would have preferred silver accents instead of gold. Like I said...lunatic!


The first version got thrown in the garbage before it had even dried, I had used some Liquitex inks but it was so dark and I just couldn't get it to look right. This image below is the second version. This time I tried some Brusho crystals. It was photographed and even uploaded before I decided it still wasn't right, the colours were too scattered. Back to the drawing board - AGAIN!


For version number three, I used just a dribble of Distress ink spray Cracked Pistachio for a uniform and more subtle colouring in the background. THANK HEAVENS!! My main experiment for this card was some home made glass bead gel which I used to create the texture. It's a mix of Super Gloss Gel from Liquitex and some clear microbeads. It's so much fun!

The sentiment here is from a Fiskars stamp set called Make a Wish, it was stamped with Jet Black Archival ink.


In the background is some stamping using an Inkadinkado stamp set and black Archival ink. The roses are made from hot glue and a silicone mold. I coloured them with Brusho Crystals, some white DecoArt paint and then highlighted them with a bit of gold gilding wax.


The butterfly was made from Crafter's clay and a silicone mold. I hope you can see all the fabulous texture that I created with my home made glass bead gel. I dabbed some of the areas with white paint and rubbed a little gold wax onto some of the other areas.


UPDATE 
My card won awards from the following wonderful challenges:


That's it for today. Thank you for stopping in and for all the amazing comments. I read and appreciate every single one! If you have any questions, please let me know.

Monday, May 4, 2015

Crafty Cardmakers and More - #138 - Make Your Own Background

Hello Everyone!

It's time for another challenge over at Crafty Cardmakers and More! This time around I am the hostess and I have chosen the theme MAKE YOUR OWN BACKGROUND. Are you surprised??? lol I know this one may be a little more of a challenge for some of you, but I do hope you will give it a go and find out how much fun it can be! Here is my make.


I decided to make several backgrounds for my card, each one a little different but they all still coordinate together. For the very bottom layer, I applied Shabby Shutters distress ink through the Tim Holtz Honeycomb stencil and then stamped some Kaisercraft text in Archival ink Coffee through the stencil as well.

For the next coloured layer, I used Shabby Shutters and Tattered Rose to softly shade the paper and then stamped the script and the Prima birds down the sides. Next I applied texture paste through a Crafter's Workshop Reverse Chickenwire stencil.


For this middle layer, I used DecoArt Crafter's Acrylic Paint Burnt Sienna to paint the base and then applied a layer of Weathered Wood crackle medium and topped it off with a layer of Crafter's Acrylic Antique White. I used some texture paste and the Crafter's Workshop Woodgrain stencil to add the pattern.


These beautiful leaves are from Joy Crafts, the itty bitty butterflies are from Hot off the Press. I coloured the seam binding with Shabby Shutters and Tattered Rose and the bead pins I made using stuff from my stash.


The sentiment is from Inkadinkado, the bird on the nest is from Urban Stamps and the wreath is called Catalina and is from Memory Box. The tag was cut from the Tim Holtz Tag and Bookplates die set.


UPDATE:
My card won awards in the following wonderful challenges:


That's it for today. Thank you for stopping in and for all the amazing comments. I read and appreciate every single one! If you have any questions, please let me know.


Sunday, March 1, 2015

Our Creative Corner - March Challenge

Hello Everyone!

It's the first of the month which means it's time to start another fabulous challenge at Our Creative Corner.
This month our challenge is being hosted by the talented Candice and she has chosen the theme JUNK IN YOUR TRUNK. I will give you the challenge details in a bit, but first, a little bit about my creation.

Last summer, I told you the story of my Mom's gorgeous pond at her house up north and how it is our happy place for 3 of the 4 seasons. It's a beautiful pond that my Mom built from the ground up, and it's such a serene, relaxing place to be. Well my Mom has recently gotten a promotion at her job and she has been working like a mad woman. I made her this wall hanging to remind her of her pond and to remind her to slow down and enjoy life a little bit. I sure hope she likes her Floating Rock Garden!


Candice would like you to create something out of 'junk'. Turn something useless into something beautiful or functional. Recylce, upcycle, re-fashion...the choice is yours. This month one lucky winner will win a prize from our wonderful sponsor Crafty Individuals, so let's all raid those closets and get started. I can't wait to see what you come up with!


Here is the stash of junk that I used to create my Lotus/Water Lily Pond - an old book, a piece of a craft box and two old music CD's (nobody really listens to the Backstreet Boys any more anyway) lol This will give my gift to Mom extra meaning because she is HUGE on recycling. She has even been featured in the local paper for her work and volunteer service with the community and the recycling plant.

The cardboard and the book pages were used to make the water bubble background of my pond. The Bubble stencil is from Prima, the paints are from the DecoArt Crafters Acrylic line - Turquoise and Tropical Blue and I also spritzed some distress ink sprays Peacock Feathers and Picket Fence.


Introducing my newest flower design...The Lotus or Water Lily. This was cut from the Tim Holtz Tattered Florals die and the edges were highlighted with Wild Honey and Spiced Marmalade distress inks. The centers were done with a Cheery Lynn Fringe die.


There's lots of little stones and dew drops tucked in under the leaves and around the rock garden. Some natural fibres and bright green sprigs help to give it an outdoorsie feel.


The leaves were stamped with an Inkadinkadoo stamp set called Decomposed Foliage. I embossed them with Ranger Perfect Medium and clear embossing powder on a pale green card stock and then spritzed with Peeled Paint and Forest Moss ink sprays. A few splashes of Tumbled Glass paint to emulate water splashes.


HOW DID I DO THAT:

I punched out a round piece of card stock to cover the hole and then filled in the hole with home made texture paste. I sanded it off and then used various green dollar store paints to make a crackled background.


Another layer of home-made texture paste and a Prima Stone Wall stencil and then while the paste was still wet, I sprinkled it with real sand and Tim Holtz Pumice Stone embossing powder. For the cardboard backing, I wanted to show a picture of the before, because the book pages aren't visible in the end project.


The dragonflies are from DoCrafts. I stamped them with Ranger Archival Jet Black ink and them coloured them with Tim Holtz inks. I used a Ranger Holographic embossing powder to coat the wings, I really hope you can catch some of the amazing glimmer and the way it reflects the light in different colours.


I am entering my Floating Rock Garden into the following wonderful challenges:

That's it for today. Thank you for stopping in and for all the amazing comments. I read and appreciate every single one! If you have any questions, please let me know.