Hi Everyone!
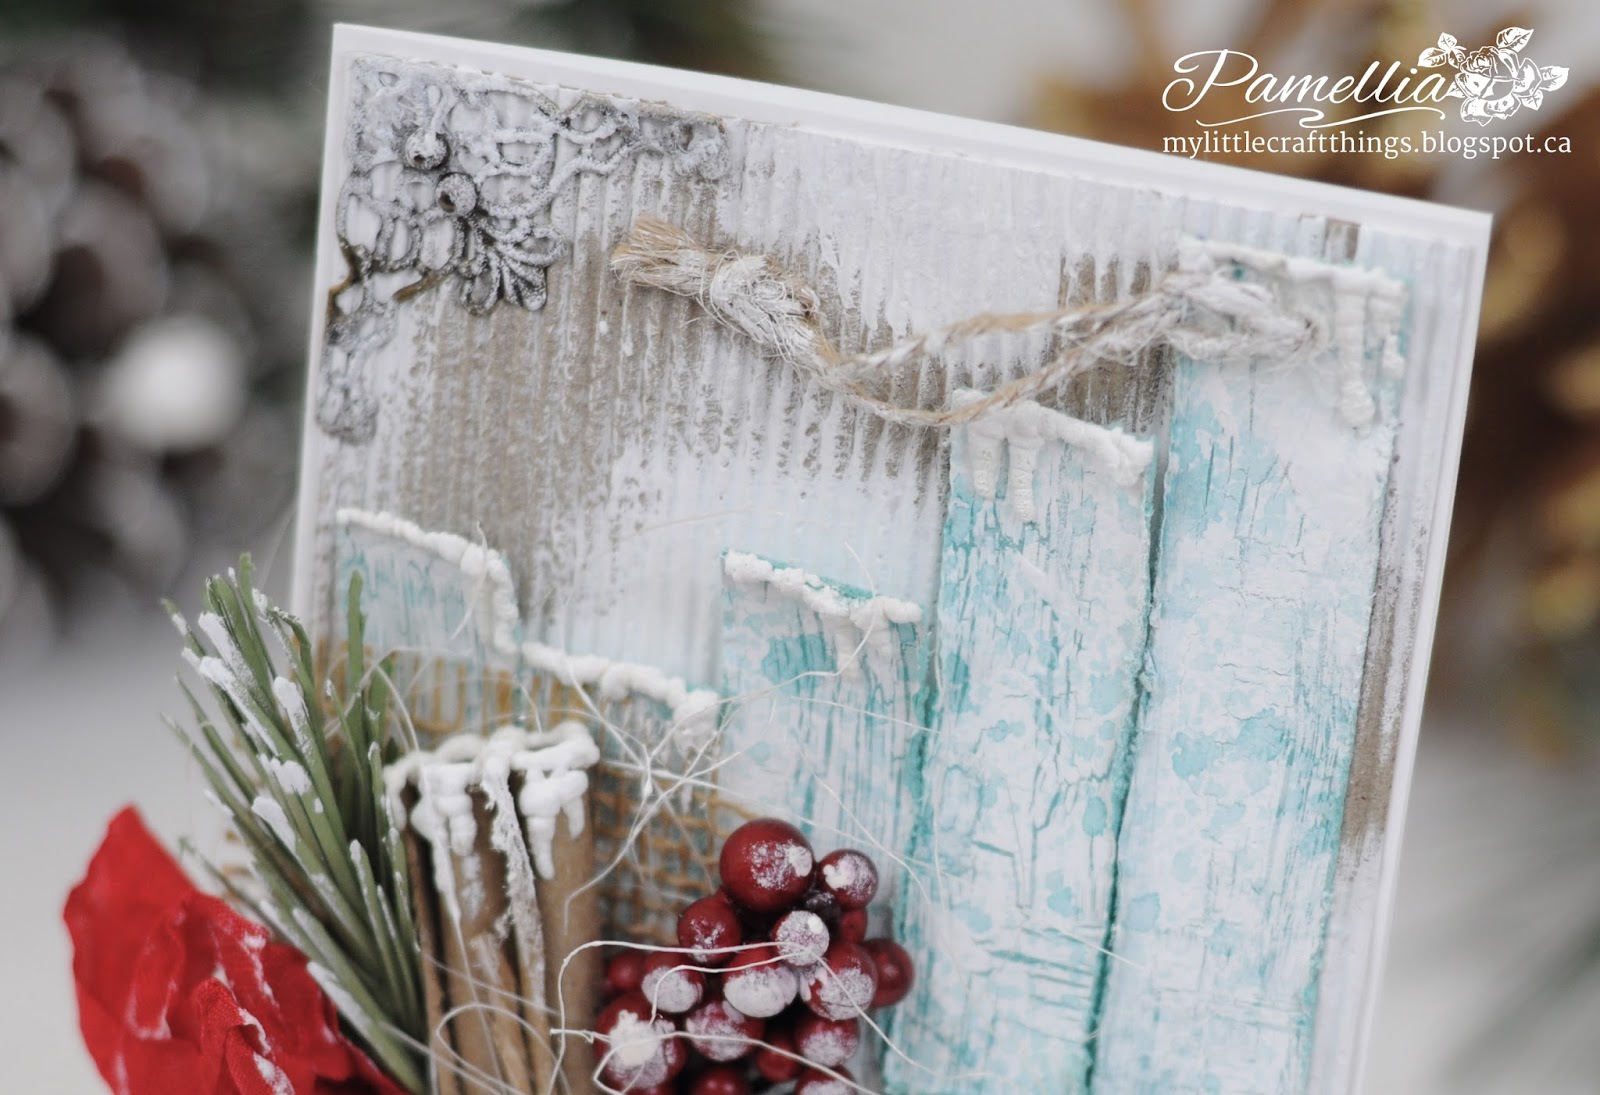
As promised, I am back today with a tutorial on how I did the distressed metal technique on my handmade Winter Wishes charm. This is actually the same technique that I used to create the porcelain effect on my poinsettia in the second photo...although I have perfected it a bit since then. It's a little photo heavy, but then, all my posts are, so what the hay! If you want to see more of these cards, you can just click on the photographs.
For the record, this was something I did completely by accident, I didn't learn it from anyone else. Odds are that somebody out there has already discovered this, but as far as I know, it's a technique of my own invention. I hope you enjoy!
#1 - Cut out your shape first using whatever colour paper you want the cracks to be. For the purpose of the tutorial, I used black card stock for high contrast, but my Winter Wishes charm was made using silver card stock.
#2 - Add two coats of UTEE. One coat will NOT work, the UTEE needs to be fairly thick.
#3 - Add a coat of coloured embossing powder. The one on the left is pewter embossing powder on black paper. The one on the right is white embossing powder on white paper (this is for the porcelain).
They look very cool just like this, but it's the next step that will blow your socks off!
These are the same two tags!!
#4 - Add a layer of UTEE over top of the coloured embossing. Heat it until you can see the coloured embossed layer underneath start to separate and move around. That's where all the fun is!
#5 For the porcelain sample on the right hand side, I added a little Black Soot distress ink onto the white layer before adding the last layer of UTEE and then heated it lightly. I smudged it too much in the sample, but I think you get the gist.
Now I will just show you some samples of what I played around with.
The one on the left has 1 layer of pewter embossing powder, the one on the right has 2 layers of pewter embossing powder. I used 2 layers of pewter because the powder was really fine and I didn't get great coverage with the first layer.
The one on the left has black paper backing, the one on the right has white paper backing, but both use the same embossing powder. You can see how changing the colour of the paper REALLY changes the look of the effect.
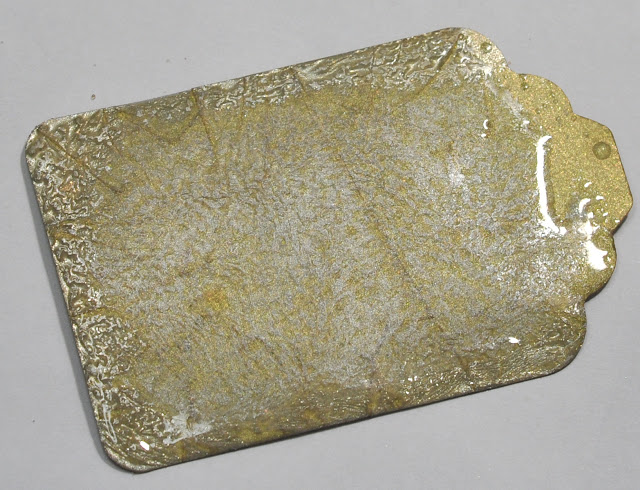
For this next one I used Stampendous Frantage Aged Gold Embossing Enamel. The one on the left is before the final layer of UTEE, the one on the right is after the UTEE. What a difference! Of all the embossing powders that I tried, this was my favourite! I will be ordering more shades of this stuff! (what a plug!)
For the next one here, I sprinkled on a little bit on silver and gunmetal glitter before adding the final layer of UTEE. This is a great way to get extra sparkle, especially for Christmas!
For this one, I embossed the paper first. I used one layer of detail gold embossing powder on a gold paper backing. Super fun effect. You want a thin coverage of coloured embossing powder for this one, or you wont't be able to see the pattern.
I think next time, I will antique the embossed pattern a bit before adding that first layer of UTEE, I think it would add some amazing depth.
I think this next one is my favourite! I used an aqua coloured paper backing and combined gold and copper embossing powders for a really unique take on a patina! I should have added more copper in the middle, but I think you get the idea!
For this next one, I used a white pearl embossing powder on a pale gold paper backing. Before I added the UTEE, I gently sponged on some white gold paint around the edges. So amazing, the UTEE made the paint bubble a bit, giving it a really fun texture.
In the second picture, I bent and twisted the tag to bust up the UTEE and give it all the cracks. Fun thing all on it's own and it could be used just like that, but I took it one step further...
...I rubbed a bit of distress ink in the cracks and then took my heat gun and made the cracks disappear. In the image below, you can see where the ink left marks of the cracks, but the actual cracks are gone. HOW FUN IS THAT!!
WHAT DIDN'T WORK:
- The UTEE will not stick to glossy or coated papers and it will not stick to metallic paints. The matte paint seemed OK though.
- Super chunky embossing powders do not work. They are so thick that the UTEE was burning before I could melt all of the layers enough to move the coloured layer around effectively.
- Regular clear embossing powder is just not thick enough. It's not that it DIDN't work. It just takes soooooo many layers that I would never have enough patience to actually bother with it.
- Cutting out your shape MUST be done first! Any distressing do first as well. Trust me, after you have 4 or 5 coats of embossing powder on there, it's not going through any die cutting machine or being altered in any way...darned things are thick!
- To prevent cracking, make sure you are keeping your piece straight as it cools off. If it curls up, like it wants to, then it will crack when you try to straighten it out.
Here is one that I did using ivory coloured paper and copper embossing powder. I stamped the image into the final layer while it was still hot using Ranger Archival ink and a Tim Holtz stamp.
I will be back next week with the card that I am making using my wonderful copper ornament panel.
Hope you enjoyed my tutorial. I will add it to the Tutorials Page at the top of the screen so you can easily find it. Don't forget to come back and let me know if you give it a go, I would love to see your results!
That's it for today. Thank you for stopping in and for all the amazing comments. I read and appreciate every single one! If you have any questions, please let me know.


